|
|
5 dagen geleden | |
|---|---|---|
| .. | ||
| img | 5 dagen geleden | |
| www | 5 dagen geleden | |
| README.md | 6 dagen geleden | |
| cert.pem | 6 dagen geleden | |
| go.mod | 6 dagen geleden | |
| key.pem | 6 dagen geleden | |
| main.go | 6 dagen geleden | |
README.md
USB-KVM App
A USB-KVM application that runs on your laptop / PC that provide an interface for using the USB-KVM device.
**This is the off-grid version of DezuKVM and only provide a subset of features that the full DezuKVM IP-KVM has to offer. This is mostly for local debugging or as a temporary display / keyboard & mouse for server management. **
Hosting
Self-hosted Site with HTTPS
Since the USB-KVM app is simply a webpage, if you already got a server with proper HTTPS setup, you can just rename & place the whole ./www/ folder into your web server and launch the index.html on your laptop that has the USB-KVM device connected.
Run USB-KVM App Offline / Without external web server
If you do not have a HTTPS web server already running in your homelab or you want to use the USB-KVM offline, you can use the simple HTTPS server provided here to serve the site wit ha self-signed certificate.
go mod tidy
go build
./usbkvm
This will automatically generate the cert.pem and key.pem file for the TLS connection and you can visit the self-hosted USB-KVM App user interface by opening https://localhost:8443 using Chrome (or any Chromium based) browser.
Note: Firefox do not support Web Serial API, so until Firefox support this API, you will not be able to use this with Firefox Browser.
Usage
- Connect the DezuKVM USB-KVM device to your laptop via the host side USB port
- Connect the remote server / computer that you want to control to the DezuKVM USB-KVM device via the HDMI port and the USB port.
- Start USB-KVM app on your laptop. Since all the operations and logic are written on the front-end page, you can either load it from a remote or local web server, as soon as there are HTTS it will work.
- Select the video capture device, it usually shows up as USB Video
- (Optional) Select the audio capture device, it usually show up as USB Digital Audio
- Click the keyboard icon and select the USB UART interface that connects to the CH9329 keyboard HID chip. There are two serial devices on the DezuKVM device and the USB UART one are for KVM and the CDC device are for the onboard auxiliary MCU (the AuxMCU is not used in this setup. See dezukvmd for more details on how it is used)
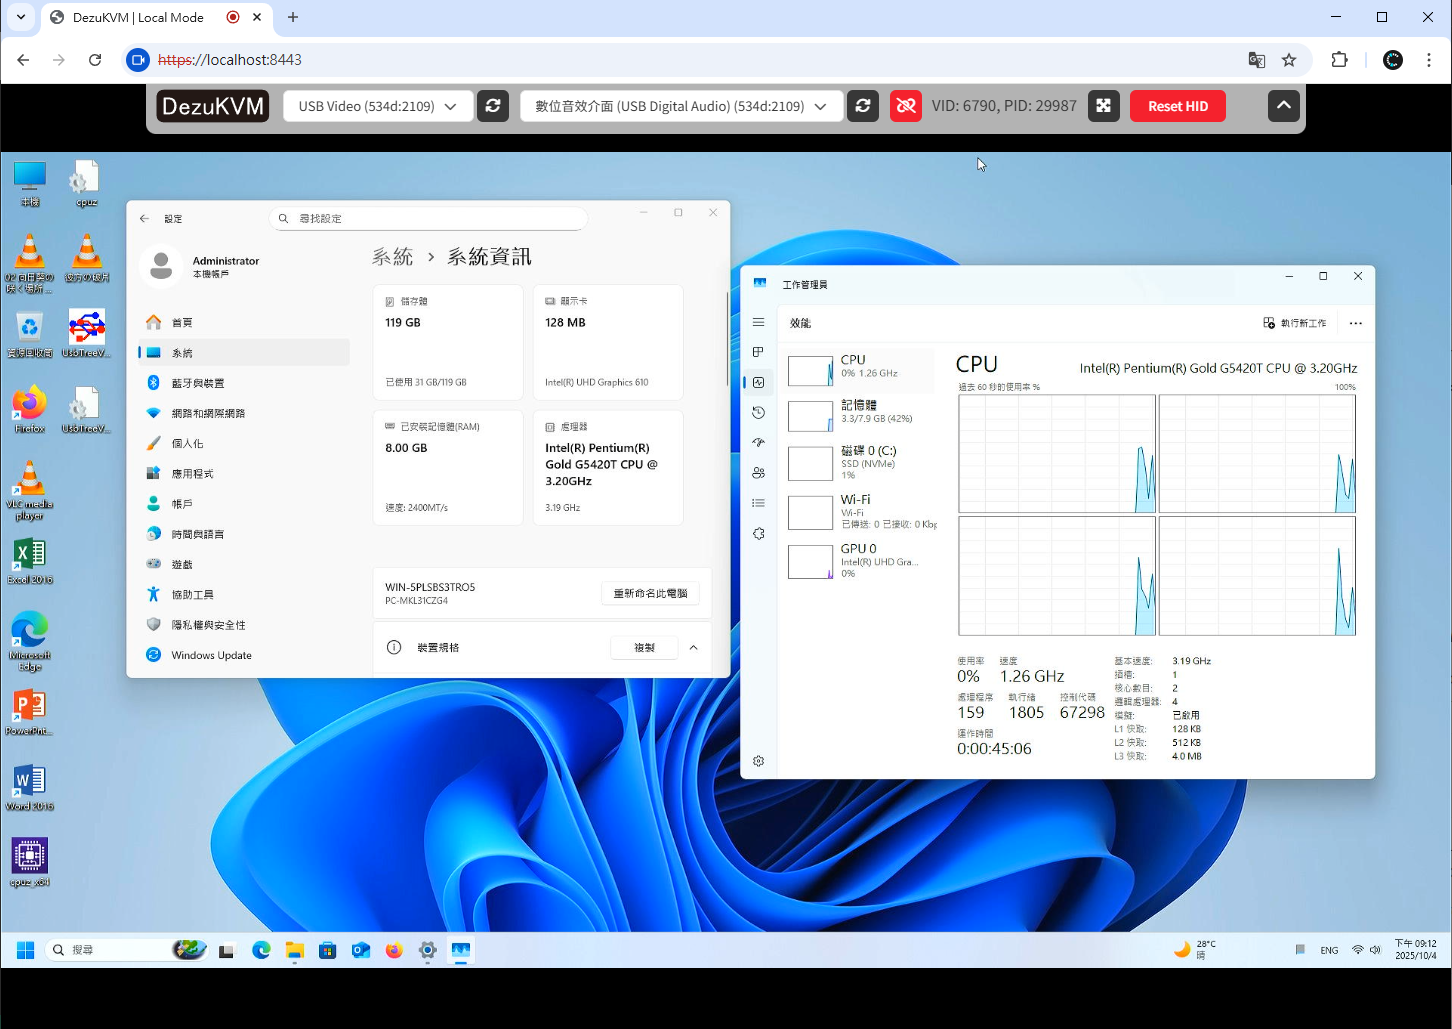
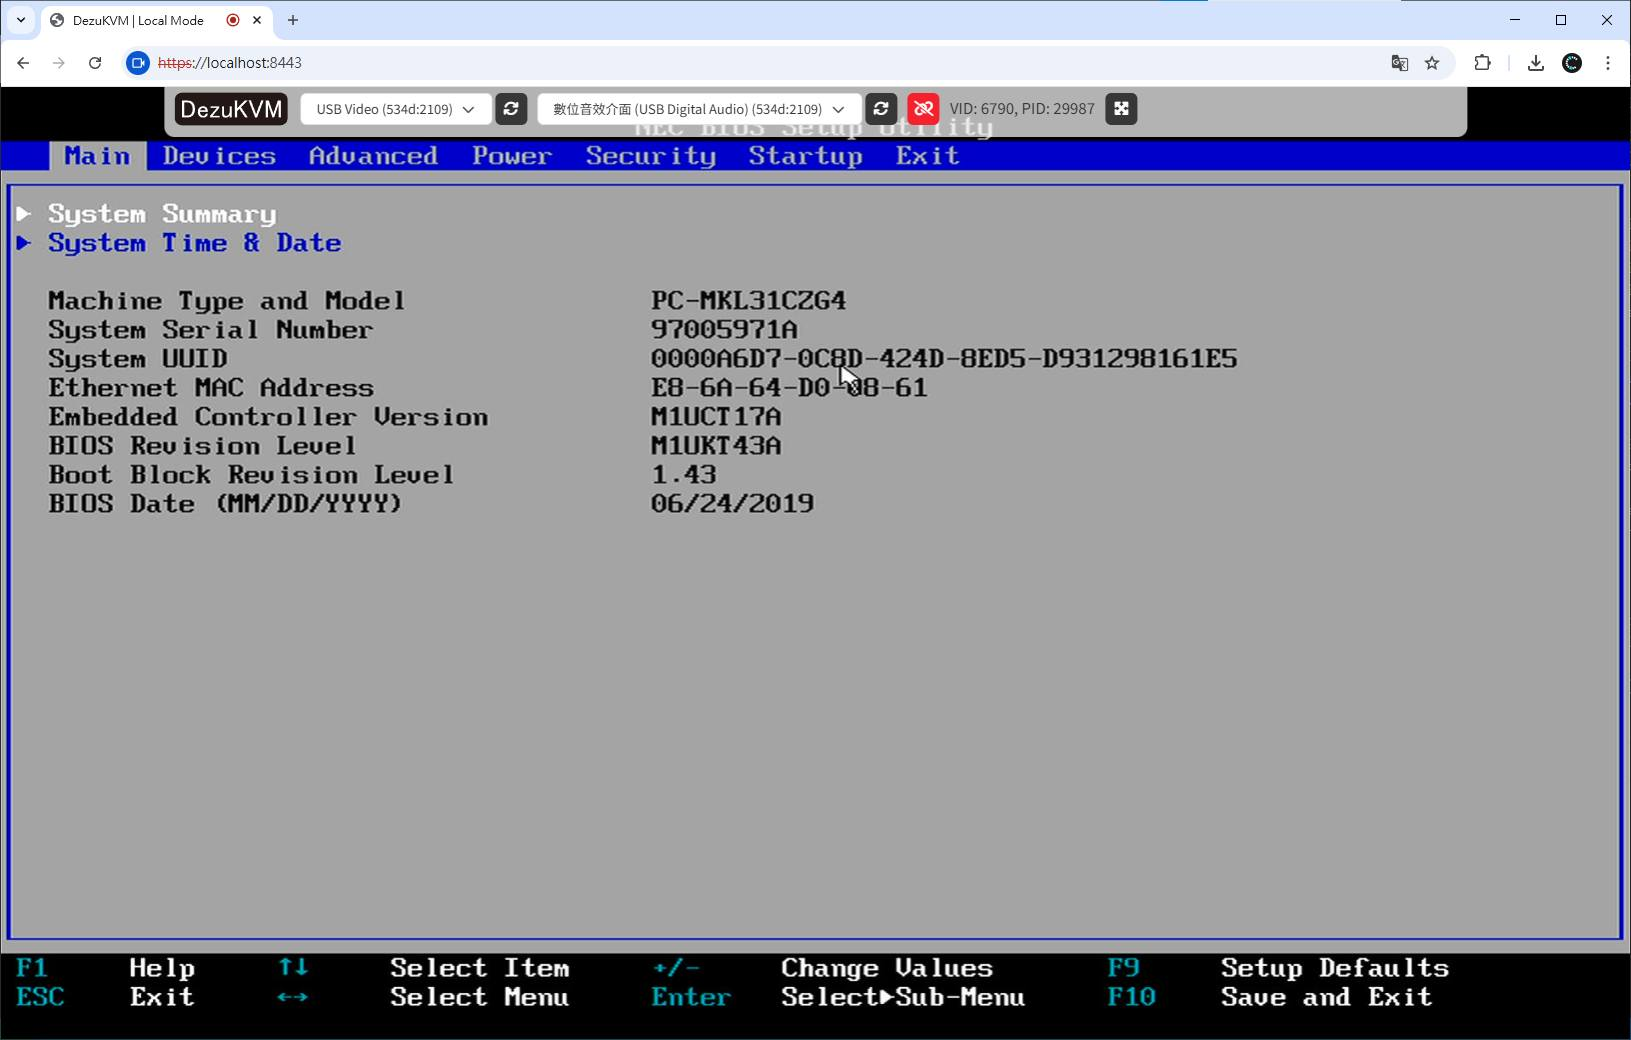
- If everything works correctly, you should be able to see your remote computer video and audio output on your browser tab, as well as moving the remote cursor with your local mouse.
Screenshots